 PartDorinUpload RFQRFQ
Chery TIGGO 7 brake and suspension parts: fitment and RFQ guide
Convert a workshop-confirmed TIGGO 7 chassis repair into a controlled product, fitment, inspection and packaging request.
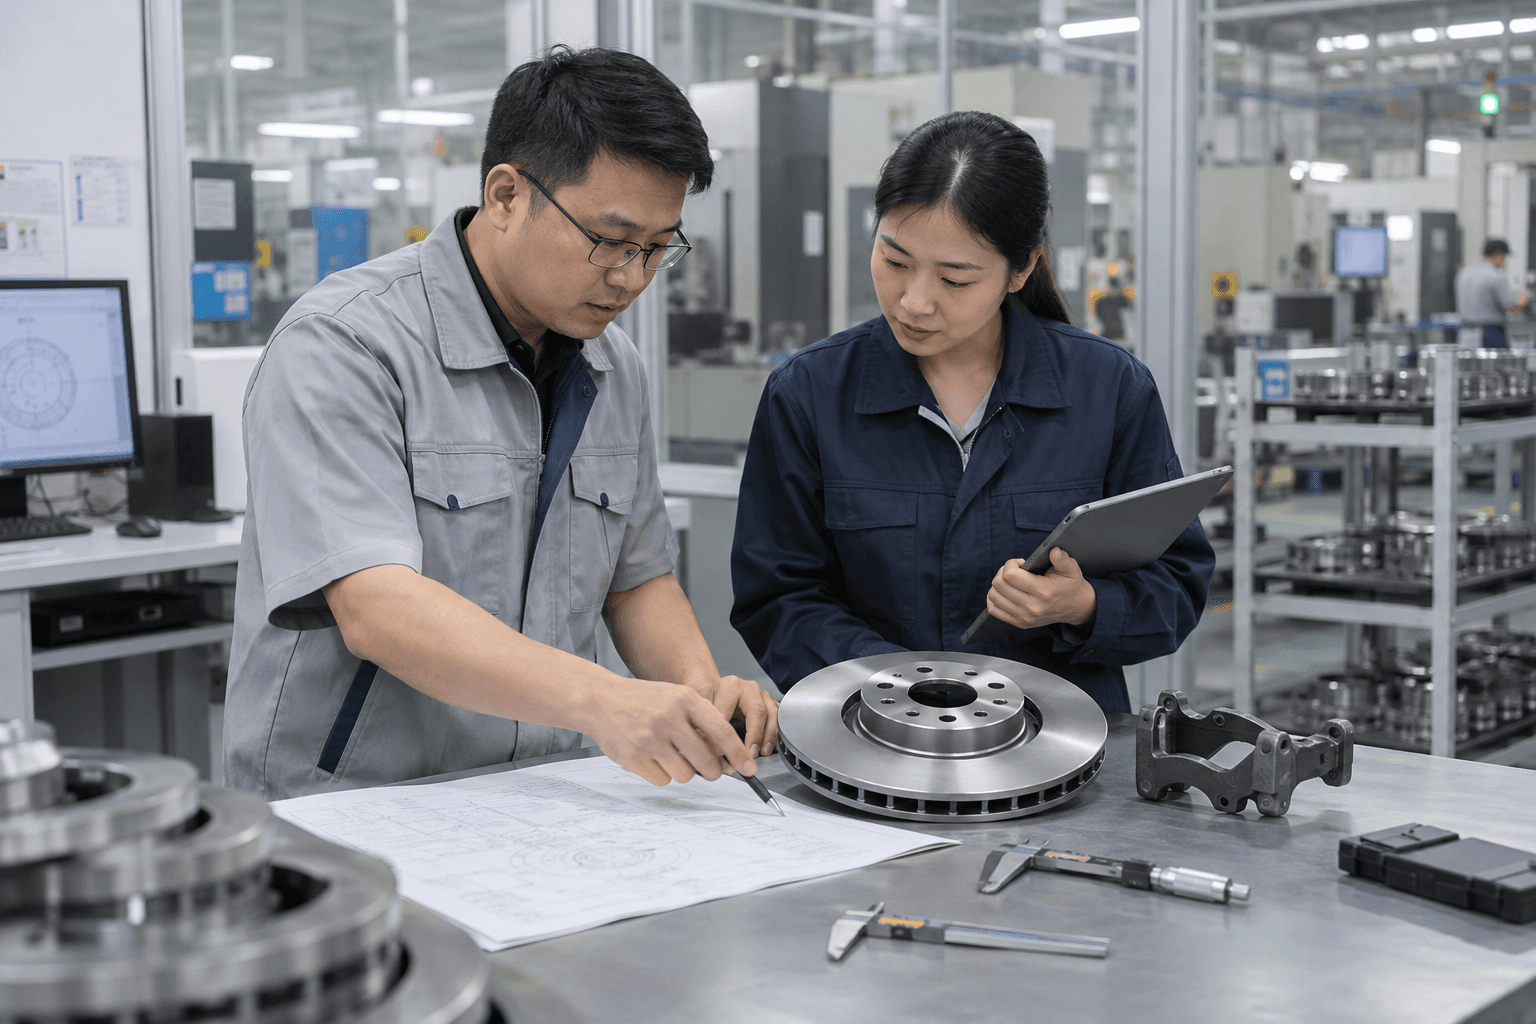
To source Chery TIGGO 7 brake and suspension parts, send the VIN, exact regional model, build date, petrol/HEV/PHEV version, transmission, axle and side, OE reference and interface photos. Diagnose noise, vibration or tyre wear first; then identify the required pads, discs, calipers, shocks, arms, links, hubs or bushings.
Short answer: identify the TIGGO 7 powertrain, axle and confirmed repair
Chery TIGGO 7 brake and suspension parts should be sourced by VIN, exact regional model, build date, petrol/HEV/PHEV configuration, transmission, axle and side. Add the complete OE reference, product position and photographs of markings, mounts, connectors and interfaces. Noise, vibration, pulling or tyre wear must be diagnosed before selecting pads, discs, calipers, shocks, arms, links, hubs or bushings.
TIGGO 7, TIGGO 7 Pro and CSH variants can share a family appearance while differing in mass, brake package, powertrain, chassis equipment and electronic systems. A badge-level catalogue match is therefore a candidate, not proof. Each product line needs a controlled vehicle condition and product-specific comparison.
This guide is for importers, distributors and workshop networks preparing a B2B order. It does not provide brake repair, torque, bleeding, alignment or calibration instructions. These safety-relevant tasks require qualified technicians and authoritative Chery information.
Separate TIGGO 7 generations, petrol, HEV and PHEV applications
Chery’s official TIGGO 7 CSH model page presents petrol, HEV and PHEV configurations and lists MacPherson-strut front and multi-link rear suspension for the stated models. It also shows different powertrain and vehicle-weight contexts. Use the regional vehicle record for the actual application rather than transferring a specification universally.
Record the full VIN, original market, production date, exact regional model wording, engine or hybrid system, transmission and drive layout. Add wheel/brake package and ADAS or electronic equipment when relevant. The TIGGO 7 model sourcing page provides the broader fields.
For cross-market model names and production changes, use the Chinese export vehicle variant guide. Keep every approved application as a separate database condition even when a supplier code covers several variants.
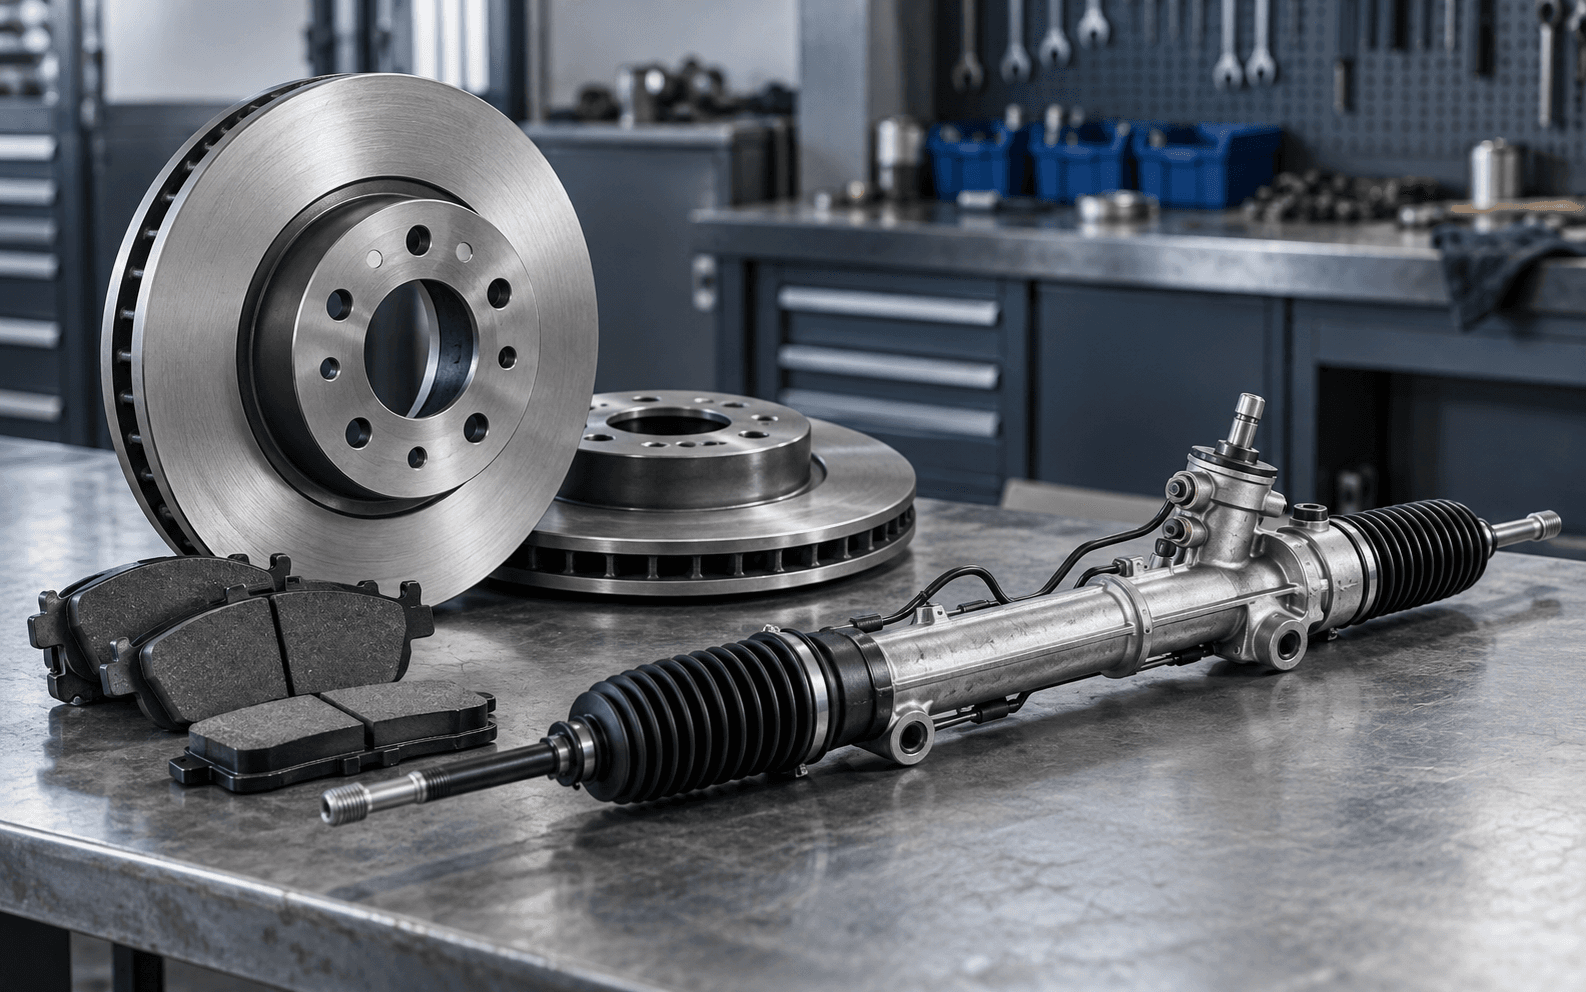
What chassis symptoms can—and cannot—identify
Brake noise or vibration
Noise and vibration can involve friction components, hardware, caliper movement, shields, wheel mounting, tyres or other chassis conditions. A workshop should inspect the vehicle and identify the required repair. Do not automatically quote pads and discs because a customer reports squeal.
Knocking or rattling over bumps
A sound may involve links, bushings, joints, mounts, dampers, springs, steering parts, brakes or underbody items. Record axle, side and operating condition for the workshop, then source only the confirmed components.
Pulling, unstable feel or uneven tyre wear
Tyres, pressure, brakes, alignment, wheels and chassis parts can all contribute. These observations do not prove a control arm or shock absorber fault. Alignment data and repair decisions belong to qualified personnel.
Wheel-end humming or warning
Tyres, hubs, bearings, brakes, shafts and sensors can produce similar reports. A hub/bearing or sensor request should follow diagnosis and include exact flange, bore and encoder evidence.
Build one vehicle-and-part record per RFQ line
Include:
- VIN, regional model/generation and physical build date.
- Original market, steering side and destination country.
- Petrol, HEV or PHEV; engine/hybrid system and transmission.
- Front/rear axle and left/right position.
- Wheel, brake or drive package where relevant.
- Complete OE reference and source.
- Part, label, mount, connector and installed-position photos.
- Controlled dimensions or drawing.
- Included hardware, brackets, sensors, bushings or accessories.
- Quantity, selling unit, packaging and required evidence.
The VIN identifies the vehicle, while the OE number identifies a service reference. Use them together and investigate conflicts. The VIN and OE matching guide explains candidate, reviewed and approved cross-reference states.
Brake pad sourcing checklist
Record front or rear axle, brake/caliper package, complete OE reference, backing-plate outline, dimensions, wear indicator or sensor, shims, clips and included hardware. State whether the selling unit is one pad, a wheel set or an axle set.
Shape alone does not define the product. Friction material, backing plate, attachment, markings, test evidence and destination-market requirements matter. Define the required commercial and regulatory position rather than using unsupported “OEM quality” language.
If a supplier claims one pad covers petrol, HEV and PHEV, ask for the application source. Different vehicle mass or brake package can change the correct product. Preserve every condition in the distributor’s catalogue even where the physical SKU is shared.
At shipment inspection, verify the approved geometry, marking, hardware, label, quantity and pack unit. Do not mix front and rear sets under one generic carton description.
Brake disc sourcing checklist
A disc record should include axle, OE reference, outside diameter, nominal thickness, overall height, center bore, bolt pattern, ventilation/solid construction, finish or coating and any parking-brake interface. Use a controlled drawing or qualified measurement, not an angled photograph.
Correct diameter does not prove fitment. Height, bore, bolt pattern, thickness and construction can separate applications. Ask the supplier to return a drawing or dimensional record and state its confirmed vehicle scope and exclusions.
Heavy discs require corrosion protection, individual separation, strong cartons and stable pallets. Check machined surfaces, labels, carton quantity and handling protection during shipment inspection. Do not publish an in-service discard limit unless it comes from authoritative service data for the exact vehicle.
Calipers, carriers and electronic parking-brake scope
Specify axle, side, caliper architecture, piston, mounts, hydraulic hose port, bleed orientation, carrier and parking-brake actuator. State whether pins, boots, clips, pads or hardware are included. Compare prices only after assembly content is equal.
For electronic parking-brake components, record connector and hardware references and confirm service mode, coding or initialization requirements through authoritative information. A connector match does not prove compatibility.
If remanufactured units are considered, state new versus remanufactured status, renewed parts, core control, pressure/leakage testing, finish and packing. Do not label a remanufactured product as new.
During inspection, protect ports and threads and verify side, boots, carrier, actuator, accessories and label. Hydraulic openings should remain clean and capped.
Shock absorbers and struts
Identify axle, side, damper-only versus complete strut, upper/lower mount, spring seat, body/rod dimensions, brackets, sensor/electronic connector and included boot, bump stop or mount. A left and right strut may use mirrored brackets.
Exterior geometry does not prove internal damping specification. Ask the supplier how identity, dimensions, leakage, force characteristics and finish are controlled. “100% tested” needs a named method and acceptance criterion.
For a complete loaded strut, list spring, mount, bearing, insulator, boot, bump stop and hardware. For a bare damper, make exclusions visible. Pack rods, seals, threads and brackets so long units cannot move or puncture cartons.
Do not recommend replacing a component based only on mileage or noise. The workshop decides the repair scope after inspection.
Control arms, bushings and ball joints
Record exact position and side, subframe/body mounts, ball-joint interface, bushing arrangement, construction and included hardware. State complete arm with bushings/joint versus bare arm. A low price may omit significant content.
For a bushing, compare outer/inner dimensions, orientation, void pattern and approved material/characteristic. Diameter alone is insufficient. If a workshop presses a bushing into an existing arm, confirm that the repair method and alignment are supported for that application.
For ball joints, compare mount or press fit, stud taper/thread, boot and hardware. Protect taper, threads and boots during packing. Material, heat treatment and durability cannot be confirmed by appearance; require evidence appropriate to the program.
Stabilizer links and mounts
For a link, record axle, side if applicable, center length, joint orientation, stud/mount interface and nuts. Small length or angle differences may be difficult to see online. Use a drawing or approved sample.
For stabilizer bushings, identify bar diameter and mount shape using a controlled measurement. The internal profile and material behavior matter; do not substitute a generic rubber block.
Long bars or assemblies need geometry control and distortion-resistant packing. Put orientation and part identity on the label so warehouse staff do not compare parts only by length.
Share the reference, vehicle application and target quantity so the technical and packing questions can be reviewed against your actual order.
Upload Your RFQWheel hubs, bearings and speed-sensor features
Record axle, side, driven/non-driven condition, flange and bolt pattern, shaft/bore interfaces, overall dimensions, seals, magnetic encoder or sensor, connector/lead and included bolts or nut. Similar bearings can differ in encoder or seal orientation.
Do not expose an encoded surface to contamination or magnetic tools where product instructions prohibit it. Ask the supplier how the encoder side is identified and protected. For a hub assembly, distinguish bearing-only, complete hub, flange and knuckle assembly.
At inspection, check machined faces, threads, seals, connector, sensor lead, markings and caps. Avoid improvised spin tests as a substitute for defined supplier controls.
Petrol, HEV and PHEV chassis differences
Powertrain mass, packaging and brake requirements can affect springs, dampers, hubs, brakes and mounts. A petrol application should not be copied into HEV or PHEV fields without product-specific evidence. The official model page’s different configurations reinforce the need for precise identity.
When one supplier number is valid across variants, retain the separate vehicle conditions and source. This lets the distributor audit an application if one configuration changes. Do not merge all variants into “TIGGO 7 2019–present.”
For hybrid high-voltage vehicles, lifting and underbody work can occur near protected systems. Qualified personnel must follow authoritative safety and isolation procedures. A brake/suspension sourcing guide cannot replace them.
A seven-step TIGGO 7 chassis sourcing workflow
Step 1: obtain the confirmed repair list
Separate symptoms from technician-confirmed parts. Record related tyre, wheel, brake, steering and alignment findings where relevant.
Step 2: validate the vehicle
Confirm VIN, regional model, build date, market, petrol/HEV/PHEV, transmission and drive layout.
Step 3: define axle, side and assembly
Put front/rear, left/right and complete/bare/kit scope on every line.
Step 4: capture OE and physical evidence
Preserve complete references and suffixes. Photograph markings, mounts, ports, connector and installed position.
Step 5: compare decisive interfaces
Use controlled drawings, dimensions and samples. Mark unresolved differences instead of approving by appearance.
Step 6: approve product and control plan
Record the supplier number, vehicle scope, sample/drawing, tests, labels, packaging and change notification.
Step 7: inspect and release
Verify identity, axle/side, geometry or features in the plan, accessories, quantity and protective packing.
Factory testing and evidence
Ask the supplier what is measured or tested, how, on what sample size and against which criterion. For brake parts, evidence may address geometry, material, product-specific performance and applicable market requirements. For dampers, arms, joints and hubs, use drawing, material, heat-treatment, dimensional and functional/durability evidence appropriate to the product.
Fitment evidence and manufacturing evidence are separate. A caliper can pass a pressure test but be the wrong side; a control arm can meet material requirements but have the wrong mount. The approval plan needs both.
For programs requesting PPAP, FAI or ISIR, agree the submission level and documents before quotation. The PPAP, FAI and ISIR guide explains the differences.
Copy-ready TIGGO 7 brake and suspension RFQ
- Buyer SKU / line:
- VIN / regional model / build date / market:
- Petrol, HEV or PHEV / transmission / drive:
- Front or rear / left or right:
- Workshop-confirmed repair item:
- Complete OE reference and source:
- Required assembly and included hardware:
- Drawings, dimensions and interface photos:
- Quantity / selling unit / packaging:
- Required sample, test or submission evidence:
- Open fitment questions:
Ask the supplier to return its number, confirmed application and exclusions, assembly content, sample/drawing availability, test scope, MOQ, lead-time assumptions and packing. Use the automotive RFQ guide for the full list.
Shipment inspection and packing
Select cartons by purchase-order line. Verify buyer/supplier numbers, axle/side, markings, interfaces, connector/sensor, hardware and quantity. Compare only the features in the approved inspection plan.
Protect disc surfaces, caliper ports, damper rods, boots, joint tapers, hub machined faces and sensors. Use separators and restraints. Check carton weight and pallet stability for heavy chassis orders.
Photograph the product, inner label and master carton together. The automotive quality-control checklist provides a broader release framework.
Catalogue data and repeat-order control
Store one application row for each approved TIGGO 7 vehicle condition, even when several rows use the same physical supplier SKU. Keep regional model, production range, powertrain, axle, side, OE reference, evidence source, reviewer and approval date. Search aliases can help staff find a record, but they should not merge petrol, HEV and PHEV claims.
On a repeat order, ask whether the supplier number, production source, drawing, material, hardware or packaging changed. Compare any proposed substitute with the original approved baseline before changing the purchase order. A familiar carton or unchanged unit price does not prove that the physical product remains identical.
When a wrong-part report occurs, retain the VIN condition, product marking, carton label and photographs. Investigate vehicle identity, cross-reference, production break, supplier substitution, warehouse picking and installation before editing the catalogue. A controlled exclusion or separate SKU is more useful than a broad correction based on one incomplete return.
Review open application questions before expanding coverage to a new country or CSH derivative. Treat the additional market as a new technical claim, not a routine sales-text update.
Common purchasing errors
- Ordering by TIGGO 7 model/year without VIN, market and build date.
- Omitting petrol, HEV or PHEV configuration.
- Treating noise or tyre wear as a confirmed component failure.
- Mixing front/rear or left/right parts.
- Comparing bare and complete assemblies as equivalent.
- Approving discs by diameter or bushings by bore alone.
- Ignoring hub encoder and sensor orientation.
- Accepting “OEM quality” or “tested” without evidence.
- Shipping heavy parts without surface and carton protection.
- Extending one sample result to every TIGGO 7 variant.
FAQ
Are TIGGO 7 and TIGGO 7 Pro brake parts the same?
Some references may be shared, but do not assume interchangeability. Confirm VIN, market, build date, powertrain, axle, brake package, OE number and product geometry for each application.
Does brake noise mean pads and discs must both be replaced?
No. Noise can have several causes. A qualified technician should inspect friction parts, hardware, calipers and related systems and specify the actual repair before sourcing.
Can petrol TIGGO 7 shock absorbers fit the PHEV?
Only where controlled evidence confirms the application. Powertrain mass, mounts, spring/damper specification and equipment may differ. Preserve separate petrol, HEV and PHEV records.
What should a hub-bearing RFQ include?
Include VIN, model variant, axle, side, driven condition, OE reference, flange/bolt pattern, shaft or bore dimensions, sensor/encoder arrangement, connector and included fasteners.
What should be checked before shipment?
Verify identity, axle/side, approved geometry, markings, boots, threads, machined faces, sensors, hardware, quantity, labels, individual protection, cartons and pallets.
Conclusion: connect the diagnosed repair to the exact TIGGO 7 variant
Reliable Chery TIGGO 7 brake and suspension parts sourcing starts with a qualified diagnosis and a complete vehicle record. Keep powertrain, market, axle, side, OE evidence and assembly content visible, then carry the approved identity through factory controls and shipment inspection.
PartDorin is an independent B2B sourcing and manufacturing-support company and is not affiliated with or authorized by Chery. To prepare a TIGGO 7 chassis order, send your VINs, workshop list, OE references, photos and quantities. We can organize confirmed lines and open questions for a controlled quotation.
Discuss the requirements for your next order.
Send your part references, vehicle applications, target quantities, destination market and any inspection or packing priorities. PartDorin will review the information needed for a focused quotation.
Send Your Requirements